|
|
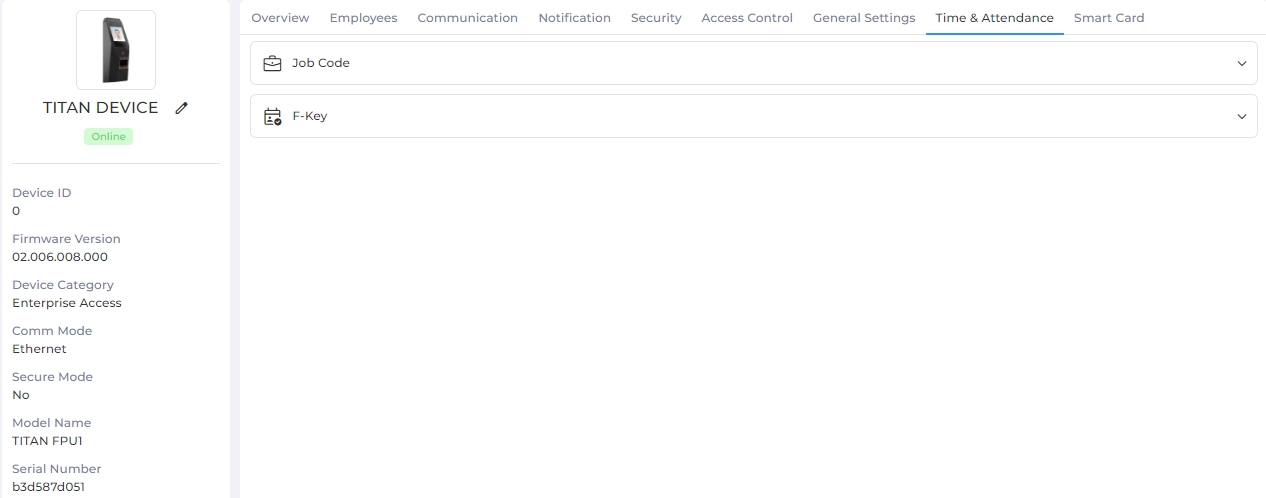
Time & Attendance
This tab allows you to configure Time & Attendance related settings of the Device to know when Employees enter and leave the work premises.
Screen Layout of Time & Attendance
Field Description of Time & Attendance
It contains various sections to save respective settings. Click on the particular section to expand it.
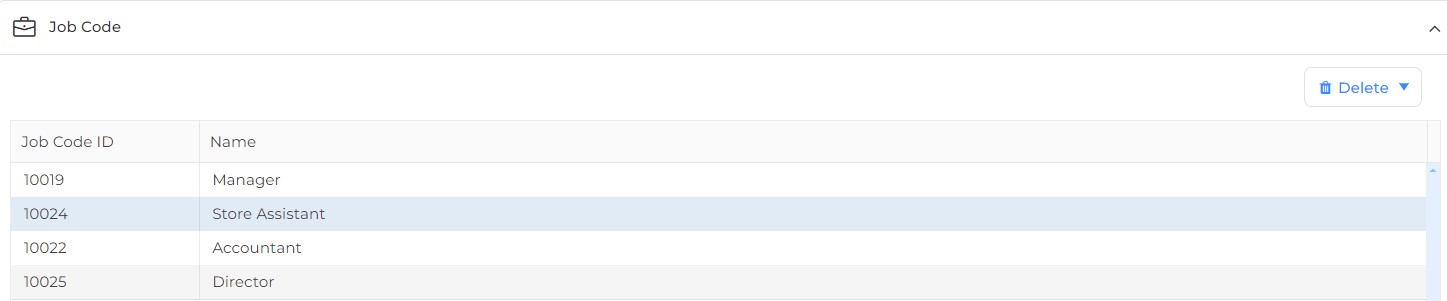
A list of all Job Codes defined from Company Schedule >> Job Code section is displayed for your reference as shown below -
|
NOTE Job Codes on the selected Device will only be displayed.
|
Hover over Delete button on the upper right corner and select All option to delete all the Job Codes on the selected Device. The application will display a confirmation message as follows -
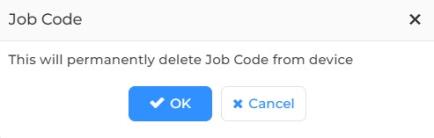
Click on OK button to delete the Job Codes or Cancel button to discard the action.
|
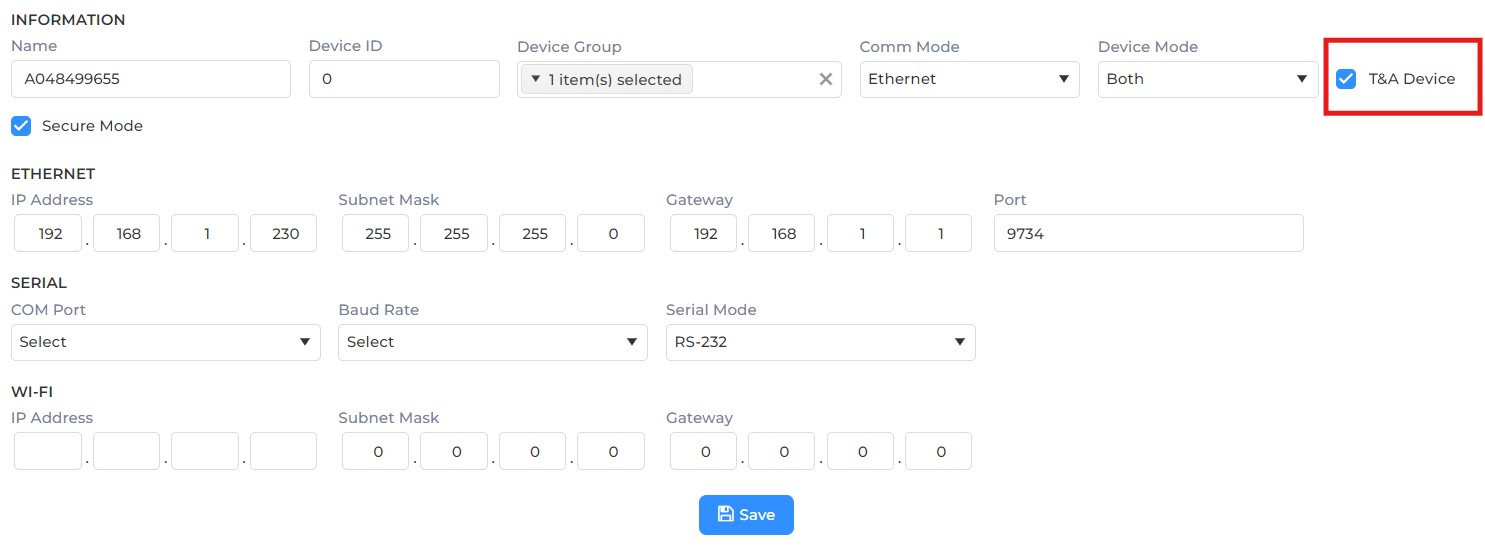
NOTE This section will be displayed only if the selected Device is a T&A Device.
|
A list of all Shifts defined from IXM Time >> Shift Settings >> Shift section is displayed for your reference as shown below -

|
NOTE Shifts on the selected Device will only be displayed.
|
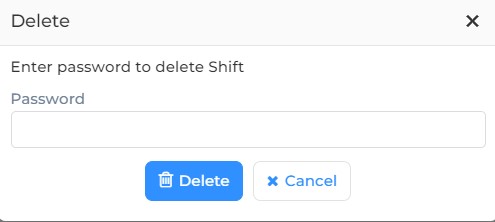
Hover over Delete button on the upper right corner and select Selected option to delete particular Shifts from the selected Device or All option to delete all Shifts from the selected Device. The application will ask for credentials as follows -

Enter valid credentials. Click on Delete button to delete the Shift(s) or Cancel button to discard the action.
|
NOTE This section will be displayed only if the selected Device is a T&A Device.
|
A list of all Shift Schedules defined from IXM Time >> Shift Settings >> Shift Schedule section is displayed for your reference as shown below -
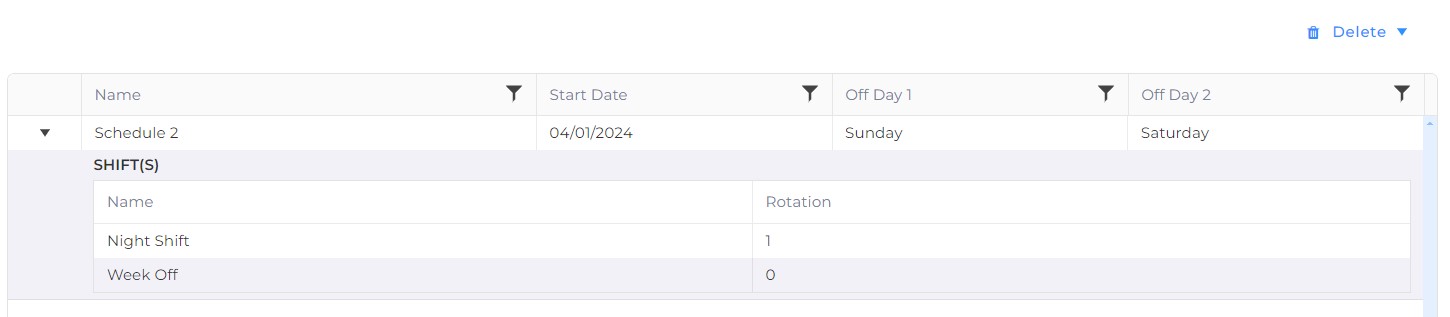
|
NOTE Shift Schedules on the selected Device will only be displayed.
|
Hover over Delete button on the upper right corner and select Selected option to delete particular Shift Schedule from the selected Device or All option to delete all Shift Schedules from the selected Device. The application will ask for credentials as follows -
Enter valid credentials. Click on Delete button to delete the Shift(s) or Cancel button to discard the action.
The Time and Attendance feature can be configured to know when Employees enter and leave the work premises.
Click on the switch to turn Time & Attendance feature ON or OFF. Following options will be enabled when the feature is turned ON -
Mode Type:
Click on the box to select Mode Type from the dropdown list. Invixium Devices support three modes to configure time and attendance:
-
Manual
When Manual mode is selected, the Employee needs to press the desired function key (Fkey) for T&A Entry. If FKey is pressed, then the Device will do T&A authentication, otherwise, the Device will ignore T&A authentication and will only perform normal authentication. Selected FKey will be logged into the transaction log in the case of T&A authentication.
-
Manual Fixed
In this mode, the first Employee needs to select any FKey (i.e. Check In, Check out, Break-In and Break-Out, etc.). The next Employee does not need to press FKey for T&A Entry. If the next Employee selects another FKey, then FKey changes to the newly selected one. Activated FKey will be logged in the transaction logs after authentication.
-
Fixed by Device
In this mode, there is no need to press any FKey for T&A operations. The FKey will be logged based on the given schedule time for that FKey. For each FKey, you can set different time schedules. FKey (i.e. Check In, Check Out, Break-In and Break-Out, etc.) will be activated by the scheduled time. In Fixed by Device mode, Employees can still use the manual mode functionality. They can overwrite the scheduled FKey by manually pressing the FKey.
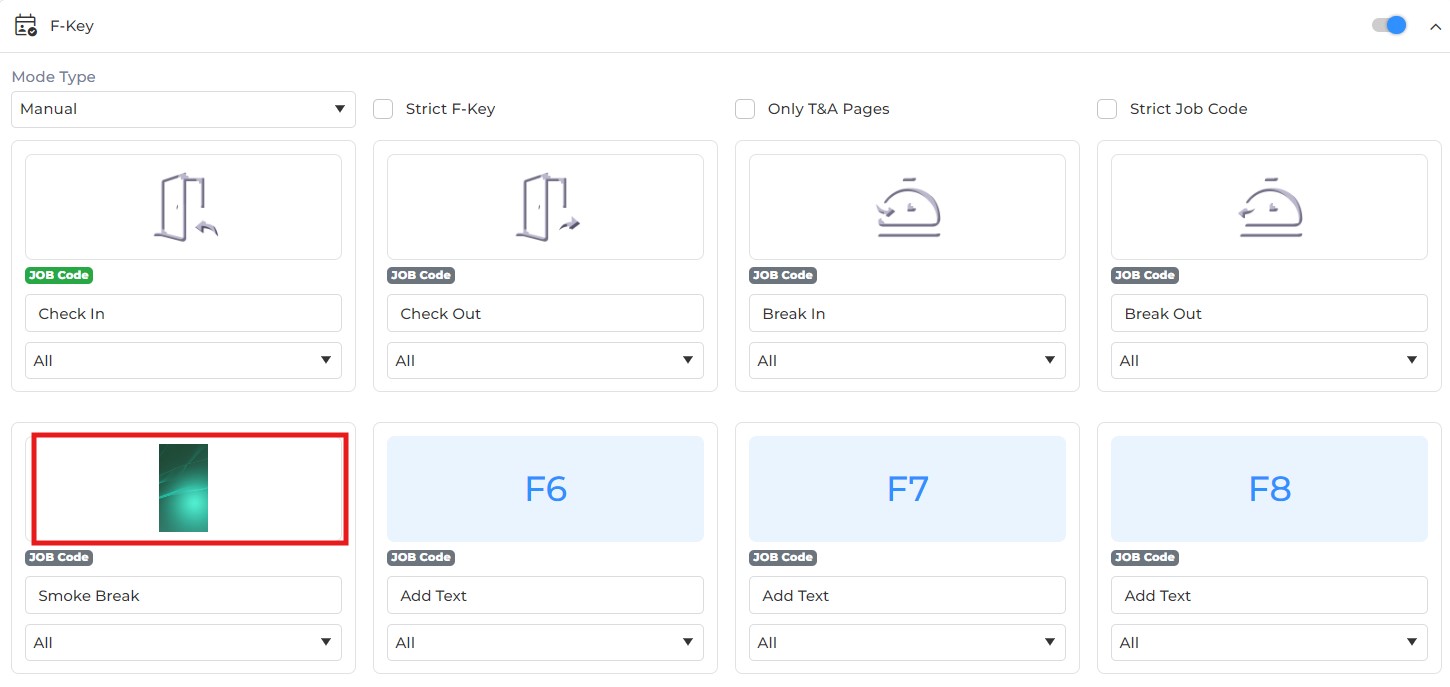
Strict F-Key
Click on the checkbox to enable or disable strict F-Key.
Only T&A Pages
Click on the checkbox to enable or disable the feature. Enabling the feature will apply the F-Keys only to the Time & Attendance related pages.
Strict Job Code
Click on the checkbox to enable or disable the feature.
If the feature is enabled, it becomes mandatory to select the Job Code on the device at the time of authentication while selecting the Function key.
If the feature is disabled for a Function key, then the previous Job Code (selected by the same employee in the last 24 hours) will be considered.
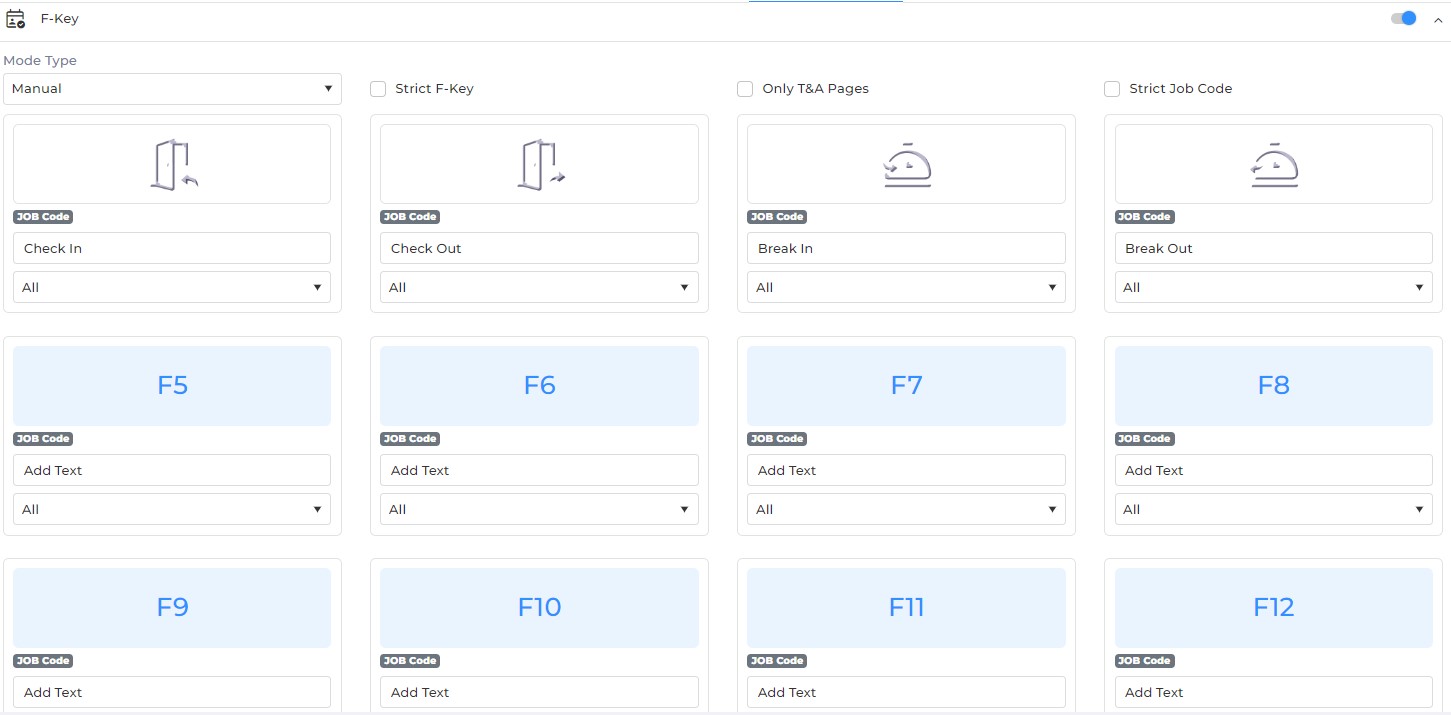
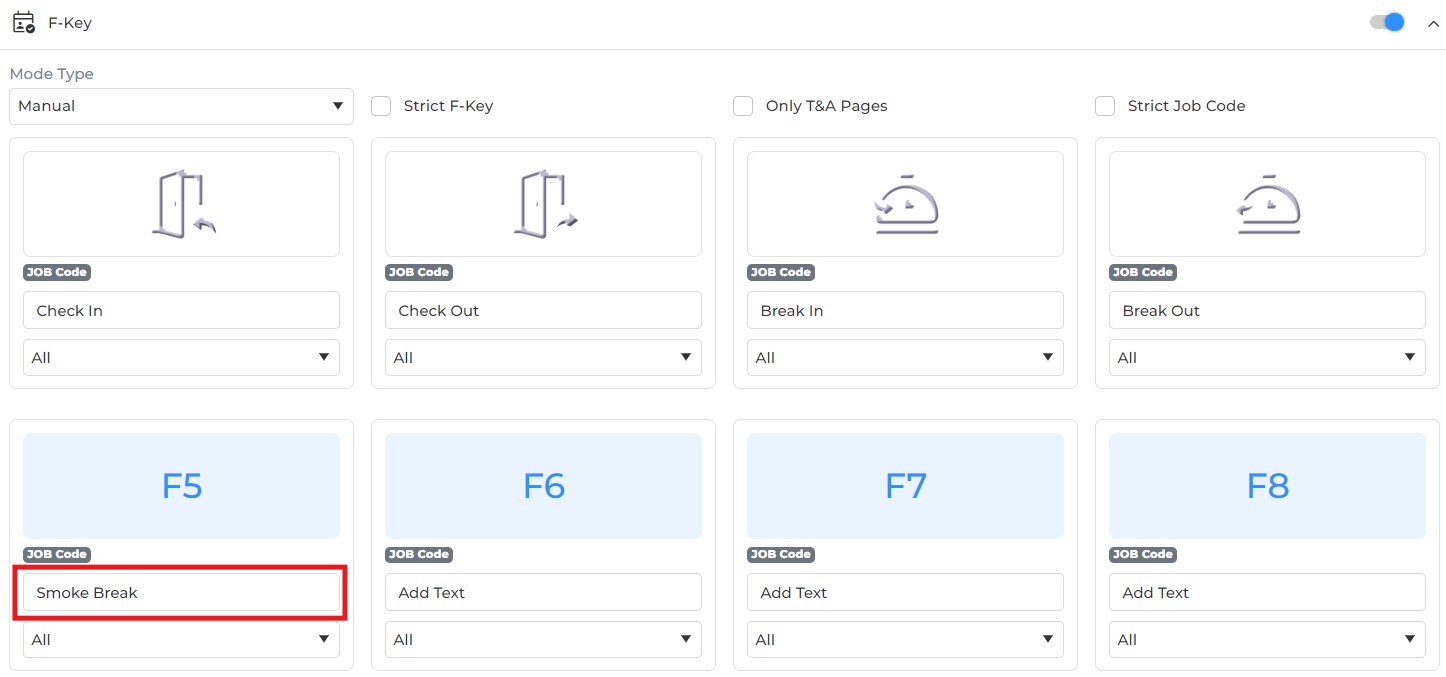
A list of T&A settings and default Fkeys with their function names, images, and Job Codes will be displayed as below -
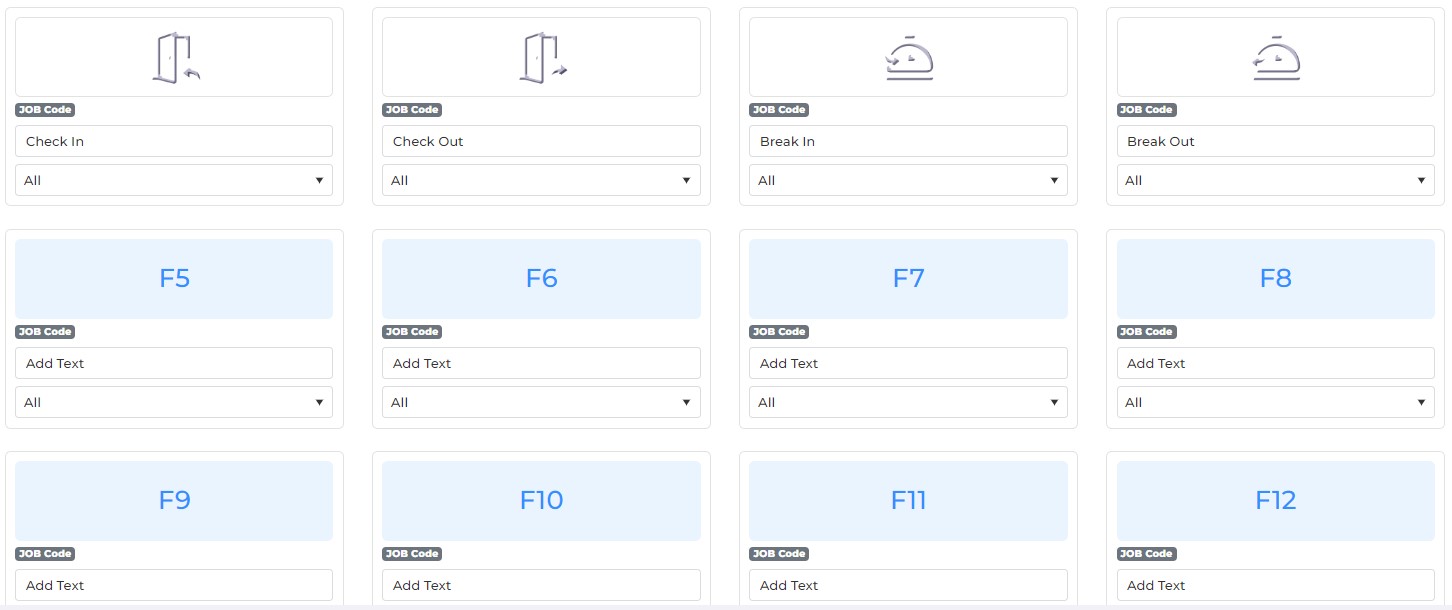
Enable the F-Keys by inserting text to “Add Text” as follows -
After enabling the F-Key, you can select the authentication mode for the F-Key from the option located just below the F-Key text. Select one of the following from the dropdown list:
-
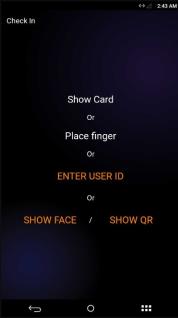
All
If this option is selected, all the available authentication modes - Face, Employee ID, and QR Card will be displayed on the device screen, allowing the user to choose their preferred mode for authentication. The modes will be displayed as follow:
-
Face
If this option is selected, the device camera will automatically open, allowing the user to authenticate using facial recognition.
-
Employee ID
If this option is selected, the user will be asked to enter the Employee ID on the device screen.
-
QR Card
If this option is selected, the device camera will automatically open, allowing the user to authenticate using the QR Card.
NOTE The "QR Card" mode will be displayed only if the "QR-Code Authentication"feature is ON from Devices >> General Settings option.
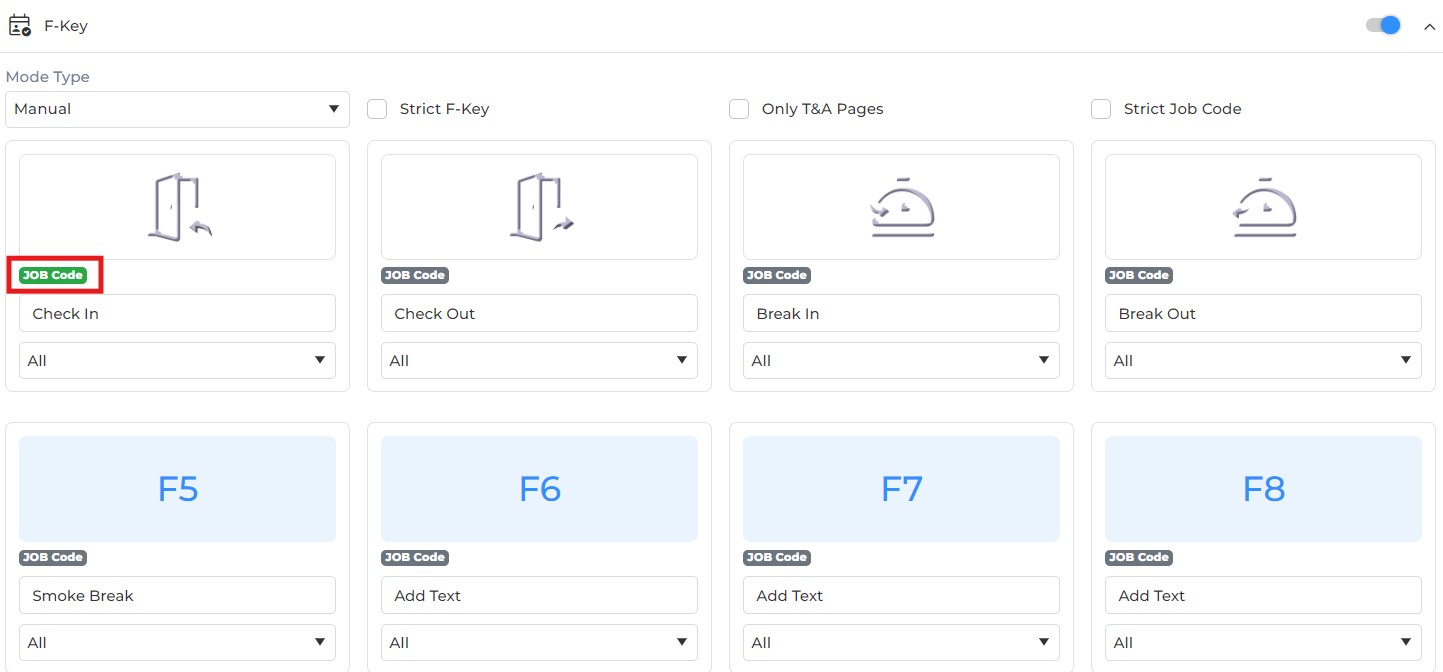
Enable the Job Code by clicking on the gray label with "Job Code" text as shown below -
Upload the image by clicking on the “F-Key” icon as per requirement -
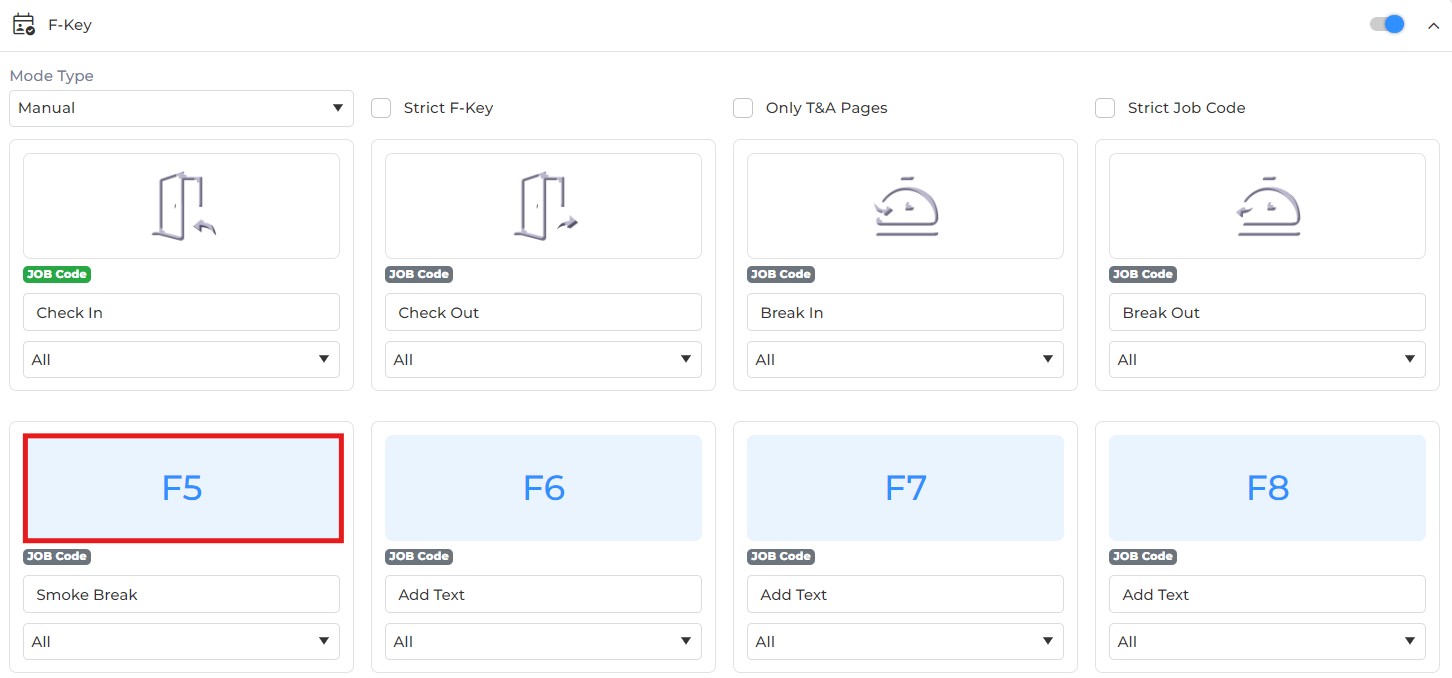
Clicking on respective F-Key will display the following window -

Select an image from the given list or upload a new one by clicking Upload. To use an image, double-click on the selected image.
Intelligent F-Keys
Click on the checkbox to enable or disable the feature.
|
NOTE Before enabling this feature, IXM WEB Server on the Device should be configured.
|
This feature is used to prevent double clocking or illogical clocking at a network level during authentication. To prevent this, we have introduced the Intelligent Function Key Module which gets the valid combination of F-Keys based on the last successful F-Key entry from transaction logs on the IXM.
Check Out:
Reset time (In Hours, max 24) which is considered as the duration for resetting check-in / check-out Fkeys.
Break Out:
Reset time (In Hours, max 24) which is considered as the duration for resetting break-in / break-out Fkeys. Break Out hours 0 means no limit on break time. Break-out hours should be less than check-out hours.
In case Mode Type is selected as "Fixed By Device", a list of F-Key schedule will be displayed as follows -
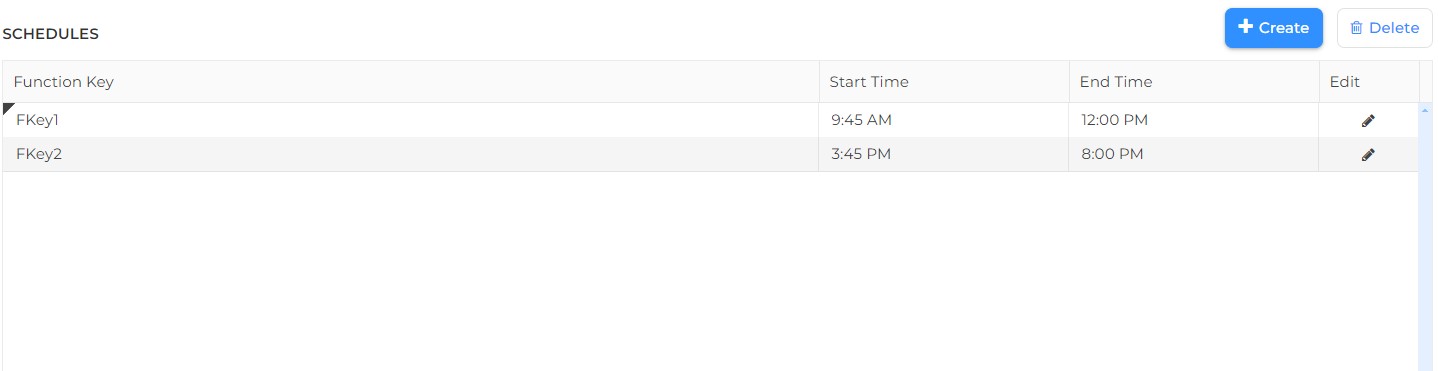
Click on Create button to schedule an F-Key. Following screen will be displayed -
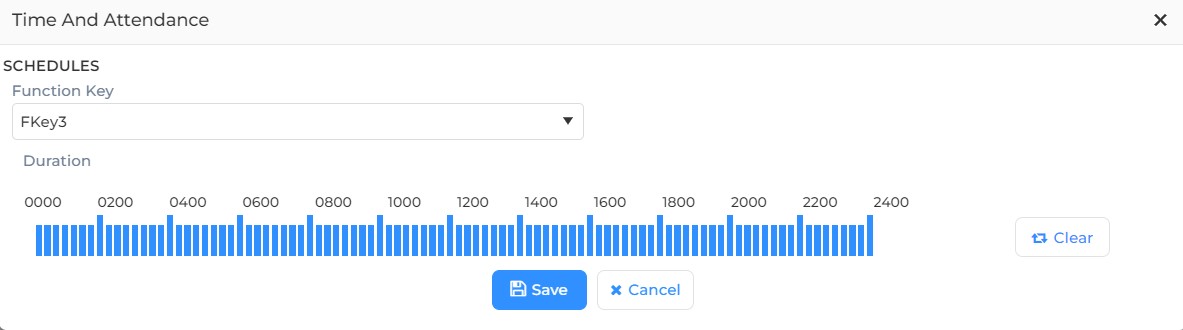
SCHEDULES
Function Key:
Click on the box to select a Function Key which has to be scheduled from the dropdown list.
Duration:
Schedule the duration range. The default selected range is from 00:00 to 23:59 hours.
Click on Clear button to clear the duration range.
Click on Save button to save the specified Function Key schedule. You will be redirected to T&A settings.
Click on Cancel button to discard the action.
Once entered, click on APPLY button to save and apply the settings.
Click on RESET button to restore the original settings.

|